


Over the years, I’ve received countless calls from frustrated San Diego homeowners whose garage doors suddenly refuse to close. Nine times out of ten, the culprit is misaligned safety sensors. These small but critical devices protect your family and property, but they require precise alignment to function properly.
I’m going to walk you through the exact process we use at Best Garage Door to realign safety sensors. This is something most homeowners can handle in just a few minutes with the right guidance.
Understanding What Your Safety Sensors Do
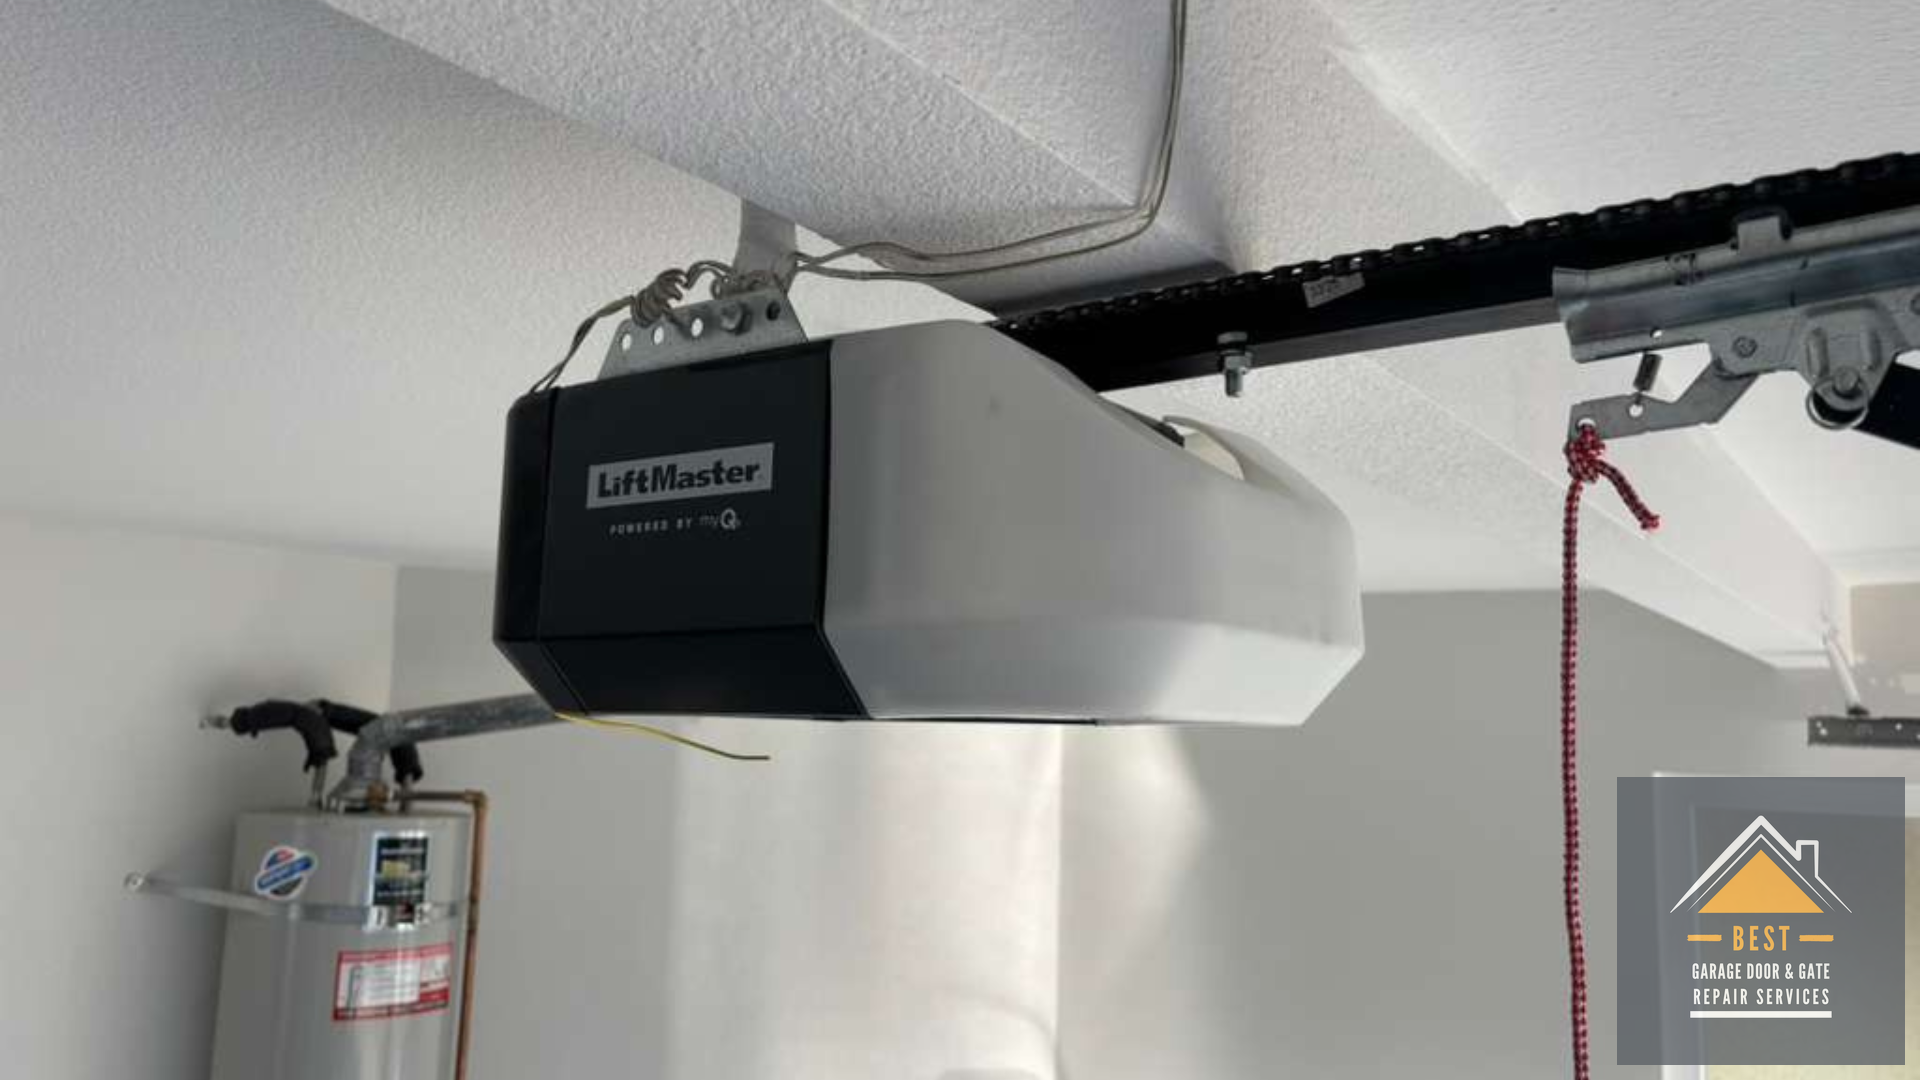
Safety sensors are photo eyes installed on both sides of your garage door opening, typically about six inches above the ground. They emit an invisible infrared beam across the doorway that detects obstructions. When this beam is interrupted or misaligned, your door won’t close, preventing injuries or damage.
California building codes require these sensors on all automatic garage door openers installed after 1993. They’ve saved countless lives, but their sensitivity means even a slight bump can knock them out of alignment.
How Do You Know When Sensors Are Misaligned?
Your garage door will refuse to close completely, or it will reverse immediately after you press the button. Most sensors have LED indicator lights: a solid green light means proper alignment, while a blinking or off light indicates a problem.
In my experience working throughout San Diego County, I’ve found that earthquakes, accidental bumps from sports equipment, or kids playing in the garage are the most common causes of misalignment. Even settling in your home’s foundation can shift sensor positions over time, just as structural changes can affect How To Prepare For Your Garage Door Installation.
Step 1: Clean the Sensor Lenses
Before adjusting anything, wipe both sensor lenses with a clean, soft cloth. Our coastal humidity here in Southern California, combined with dust and salt air in neighborhoods like Pacific Beach and Point Loma, creates a film on the lenses that can block the infrared beam.I’ve solved many “misalignment” issues simply by cleaning the sensors. Check for spider webs, dirt, or condensation that might interfere with the beam.
Step 2: Loosen and Adjust the Sensor Brackets
Step 3: Test and Fine-Tune the Alignment
With both sensors showing solid indicator lights, test your garage door by closing it completely. Then place an object like a cardboard box in the door’s path and try closing again. The door should reverse immediately when the beam is broken.
If the door doesn’t reverse, your sensors still aren’t properly aligned, even if the lights appear solid. Make small adjustments, checking the indicator lights after each tiny movement. Sometimes we’re talking about millimeter-level precision.
What If the Sensors Still Don’t Work?
We also see issues with direct sunlight overwhelming the sensors during certain times of day. If this happens, we sometimes install small sun shields or relocate the sensors slightly higher.
When to Call the Professionals
Safety sensors protect your most valuable assets: your family and property. While alignment is usually straightforward, electrical issues or persistent problems require professional attention.
Our team at Best Garage Door has aligned thousands of sensors across San Diego over the years. We carry replacement sensors for all major brands and can diagnose complex electrical issues that aren’t obvious to homeowners, whether you need Garage Door Parts for residential systems or require Commercial Garage Door Repair services.
If you’ve tried these steps and your door still won’t operate safely, give us a call. We’ll get your garage door working properly and ensure your family stays protected.


Leave A Comment